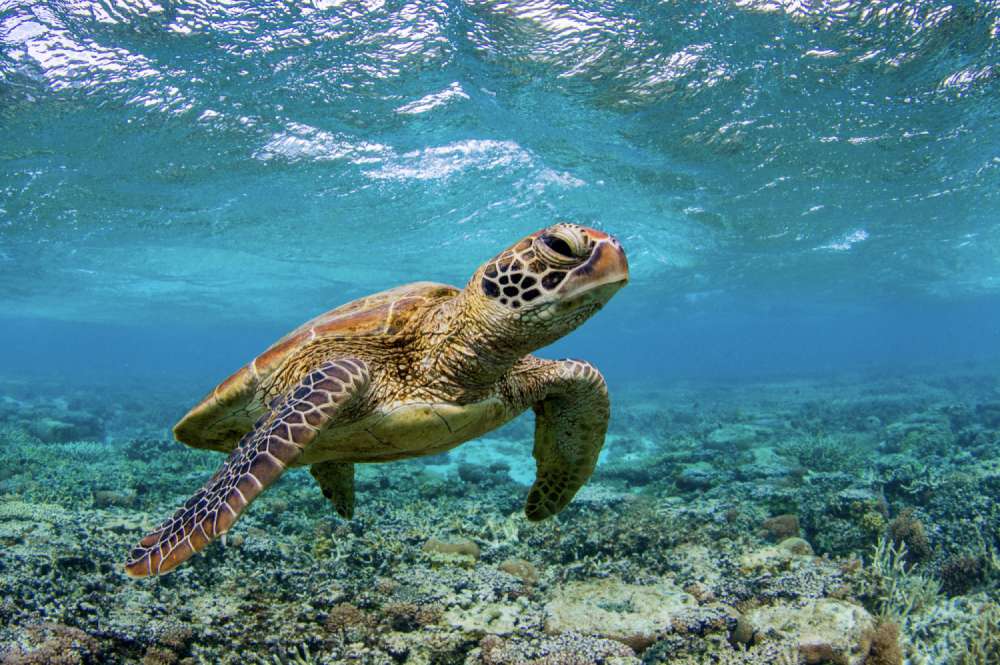
If you've ever tried to take photos of turtles, you probably know how difficult it can be. In this tutorial I'm going to go over some of my top tips for getting those cracker turtle shots.
Be comfortable in the water
It might sound like obvious advice, but it's worth saying. Being comfortable swimming, snorkelling or diving is pretty important when it comes to capturing pictures in the water. If you're distracted by your breathing or feeling panicked, getting that shot probably isn't going to happen. If you are uncomfortable, you're better off ignoring the photography until you are relaxed and focussed. You'll have a far more enjoyable experience that way and are way more likely to get a decent shot. I think people often underestimate how important this is to capturing photos underwater. It is not to be overlooked.
Finding the turtles
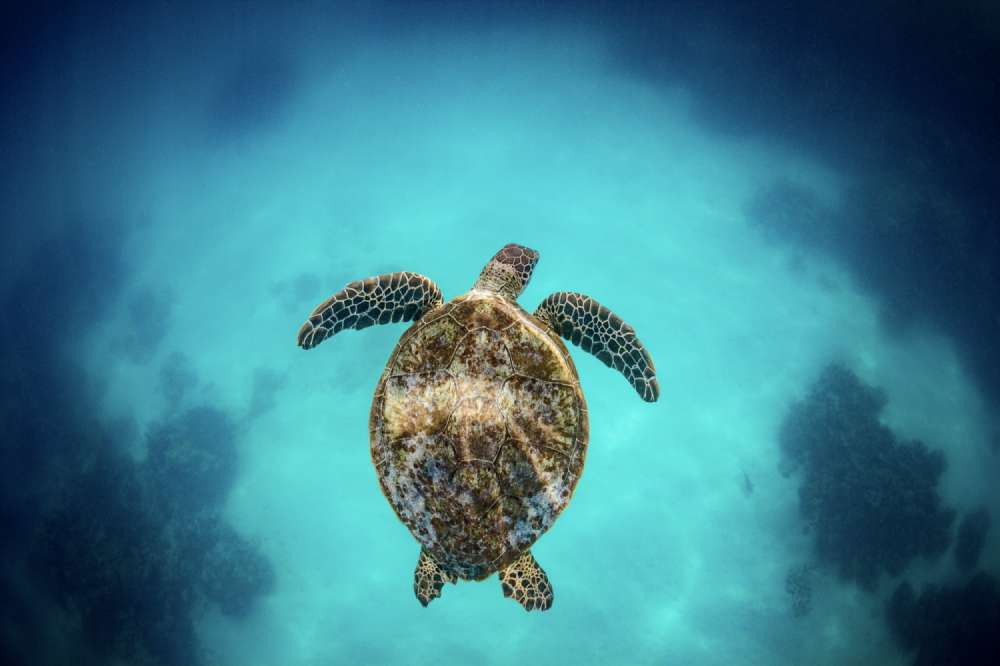
When you're in the water, trying to spot a turtle can be frustrating. I know many people who have gone to turtle hot spots and still come up empty. Luck does play a part, but it's important to keep a good look out. Turtles often hide amongst the rocks, seagrass or coral; are resting on bottom or swimming around on the surface. Try to swim around in a systematic pattern and keep looking left, right, up and straight down. They can also be pretty sneaky, so have a glance over your shoulder from time to time.
If you're lucky and you have access to a guide or there are locals about, they are often able to point you in the right direction which can save you a bit of time.
The hardest thing is spotting a turtle underwater if you've never seen them before. They can easily look like rocks or like part of the reef. Take your time. It's not a race. Try to train yourself to look for things that are moving.
Learn their behaviour
Seeing a turtle underwater for the first time is definitely exciting. This no doubt explains why everyone who sees a turtle immediately accelerates towards it at break neck speed. This is absolutely the wrong tactic, albeit an understandable mistake. Turtles are pretty slow moving and don't like expending energy. They also don't generally approach humans unless you can gain their trust. This doesn't mean feeding them (that would be a very bad idea), simply hang with them from a comfortable distance so that the turtle doesn't feel threatened. Over time, the turtle will allow you to come closer. Just be patient. If you power towards them, you'll likely hurt your experience with them and if they think you are a threat, they'll be gone faster than you can say "Wait up! I wanted to get a photo with you!".
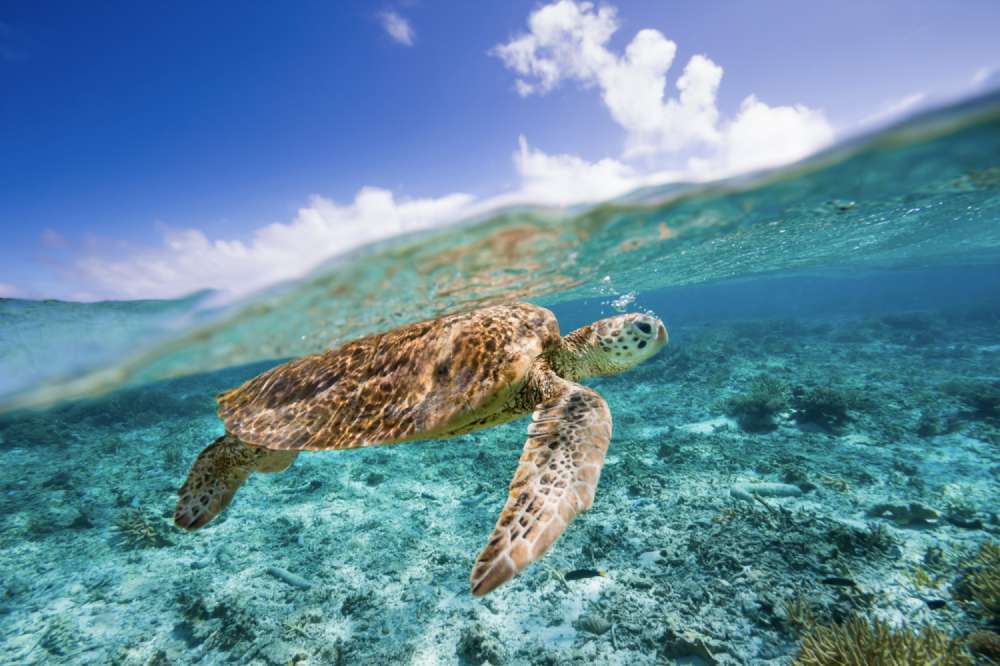
Although they live in the ocean, turtles still have to breathe. This means they often swim to the surface to take a breath. Turtles are at their most vulnerable when they are near the surface so they will be extra cautious. It's best to hang back a little bit on their first couple of ascents.

Some turtles are very skittish and will swim away at the first sign of anyone. Others will actually follow you around. Pay attention to how fast the turtle is moving, if it's looking at you and how it's changing direction.
Basically, a turtle will swim away from you if it doesn't like you.
If you get too close, too quickly, then the turtle will dart off in the other direction. Sure you might have a chance to snap a photo really quickly, but it won't put you in the turtle's good book, nor in anyone else's around you. Like most wild animals, it pays to put a bit of time in to get the turtle used to you before gradually moving in to take your photos. If the turtle is near the surface to breathe, you'll often have to give it more room then normal.
The approach
Natural instinct is to follow a turtle. Most people do this by swimming behind or beside them and usually, far too closely. A lot of the best turtle shots are taken from the front. Turtles make this difficult because they are trying to protect themselves with their shell. In order to get shots from the front, many people try to quickly stick their camera into the turtles face. This will likely scare the turtle, forcing it to change direction and quite probably, not give good results.
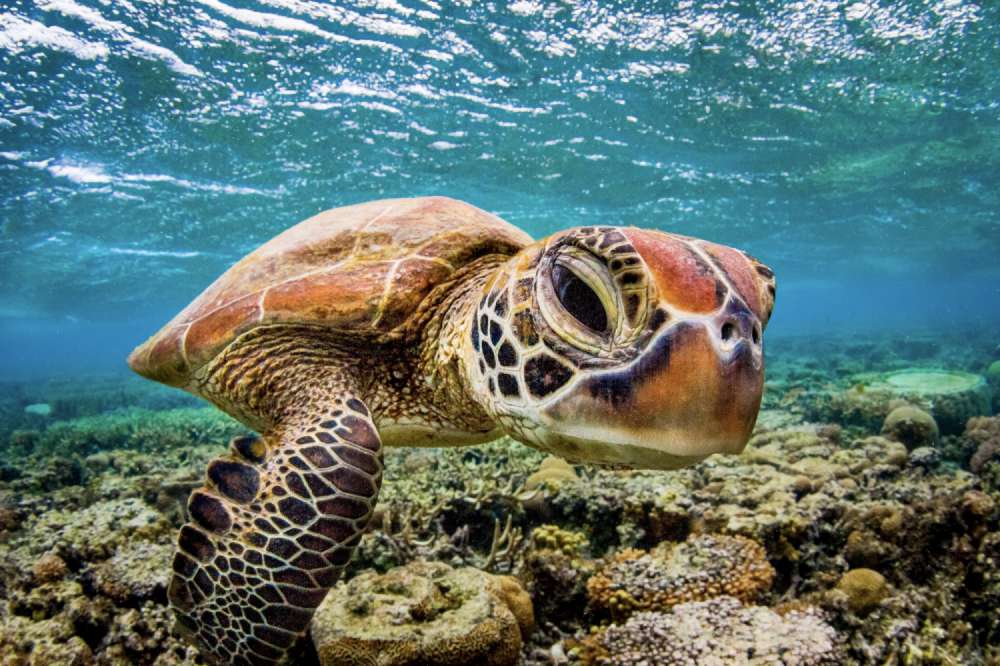
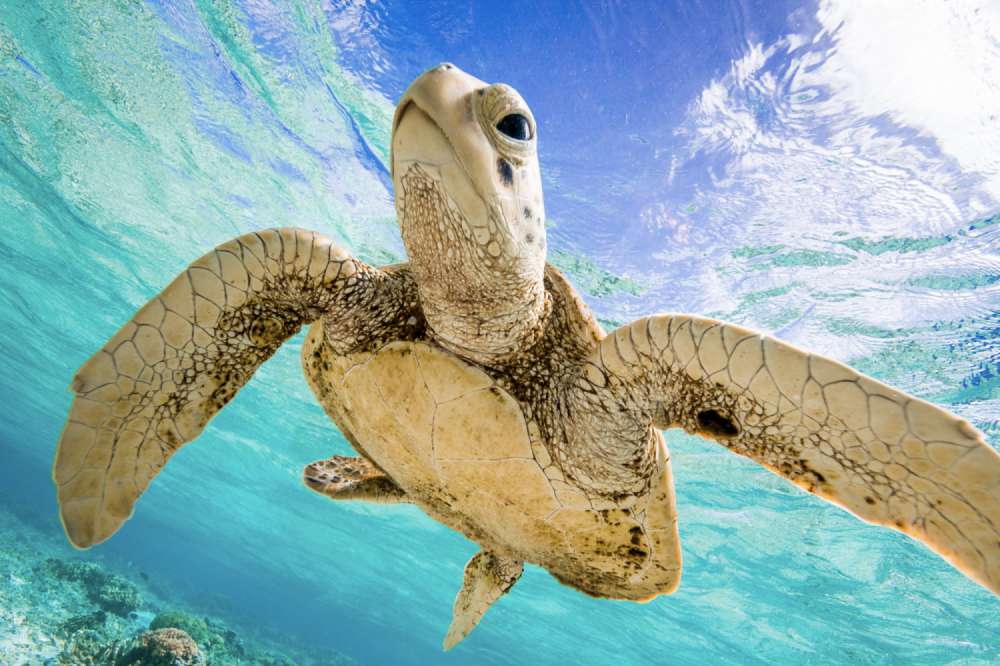
The better strategy is to actually swim away from the turtle. Yes that's right. Look at the direction the turtle is travelling and swim away, then around it in a very wide circle. I like to swim away from them until they are just on the edge of visibility before I start approaching them from the front. You want to be going towards them as straight on as possible. It doesn't hurt to take a wider circle in order to achieve this.
As you're heading towards them, move slowly (ideally not at all) and let the turtle approach you. Use this opportunity to take your photos. The turtle might slowly change direction, try to stay directly in front if you can but err on the side of not scaring the turtle. There's a point you'll reach where it becomes impossible to stay in front of them. Simply drift past the turtle and then repeat the whole process. With any luck the turtle will get used to you doing it and allow you closer each time.
Most of my favourite turtle photos were taken using this tactic.
Getting the angle
A turtle's shell blends into rocks and reef so in order to get the best photos you want to be either level with the turtle, or slightly underneath it. This way the background will be water and will make the turtle stand out in the photo. If you wait for the turtle to rise to the surface then you will increase your chances significantly. There is more natural light at the surface so your photos will generally look better as well.
Camera settings
It can be dark underwater and it obviously gets darker the deeper you go. You might be tempted to try to use a slower shutter speed in order to get your exposure right. Remember though if you go too slow, then you'll end up with blurry photos. I always shoot with a relatively fast shutter speed underwater. This does mean I have to bump the ISO a little bit on overcast days but I'd rather a noisy photo than a blurry photo. It's important to remember that even if the turtle is moving slowly, you may not be. In fact, underwater you are likely moving a lot more than you realise. For that reason, I tend to shoot with shutter speeds faster than 1/320 and prefer to be around 1/500.
Aperture is another crucial thing to get right. Even if your dome port is properly aligned (which is unlikely), you'll want to make sure you're not shooting wide-open. Stopping down your aperture will decrease the effect of the distortions that show up in underwater images. It's a bit of a balancing act though because you don't want to slow down your shutter speed too much or bump your ISO too high. I generally keep my aperture around f8-f13. With a wide-angle lens this usually gives more than enough depth-of-field.
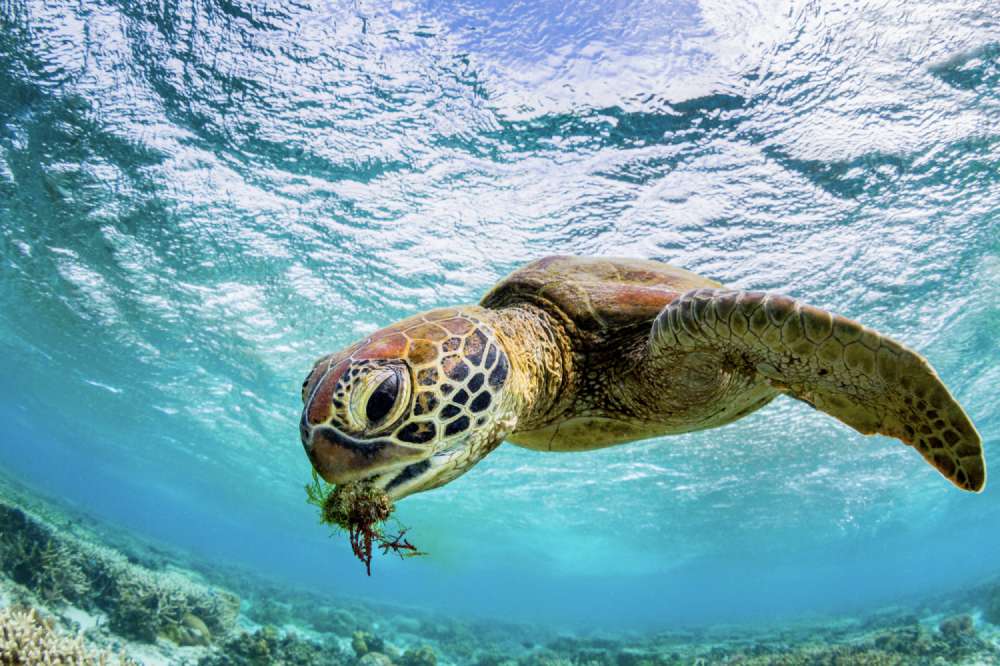
ISO is simple. Whatever is required to to properly expose the image. I find that ISO400 near the surface works pretty well on a sunny day. On my 60D I prefer not to take my ISO above about ISO1000 (but I will if I need to), so I might try to make compromises on my shutter speed and aperture before bumping ISO. That being said, it seems a vast number of photographers these days will go to crazy lengths to avoid bumping ISO. In my opinion, those photographer's tend to take the compromises too far. I cannot stress this enough, do not be afraid of lifting your ISO. Sometimes it is necessary.
You may have noticed I haven't really given too many specifics. That's because there are so many variables that go into choosing an exposure that simply giving numbers for a situation are not very useful. Understanding how exposure works is critical.
Lens selection
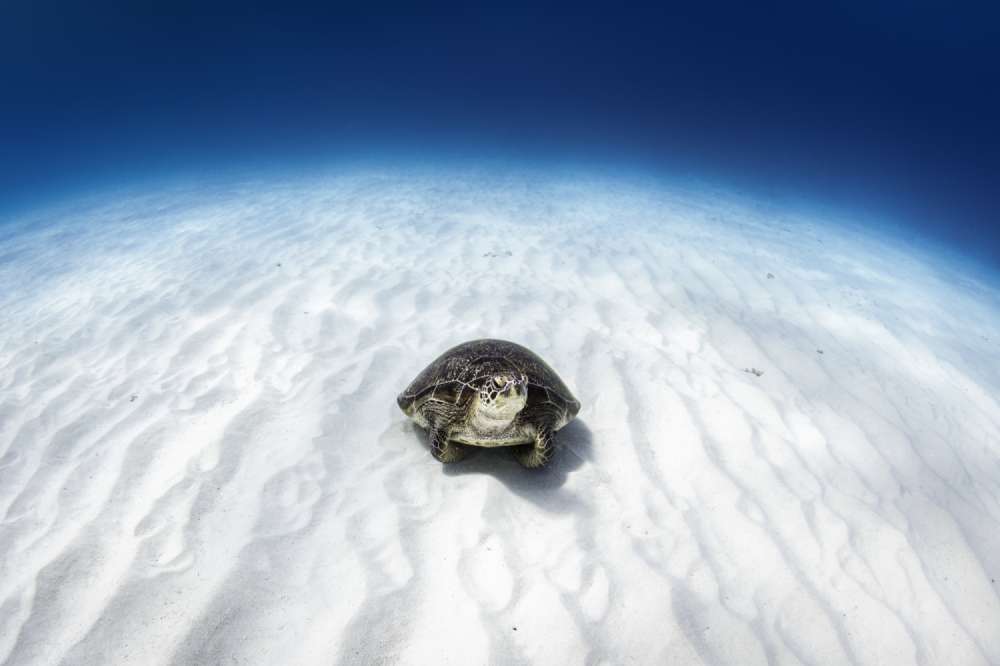
Most underwater photographer's (with the exception of macro shooters) tend to prefer wide-angle and fisheye lenses. Wides/fisheyes allow you to get closer to your subject so you can shoot through less water. When it comes to underwater photography that's a big deal. It will make the subject clearer and should make a big difference to the overall impact of your images. For turtle photos, wides are almost always the way to go. That is unless you plan on shooting close up images of the turtle's eye.
Location, location, location
When it comes to getting great turtle photos it's critical not to overlook the importance of the location. Ideally you want to find a place that has great water clarity, an abundance of cooperative turtles and fine weather. In my (admittedly limited) experience, I have found Lady Elliot Island to be great on all counts and is currently my favourite location for underwater photography (if you couldn't already tell). Lady Elliot Island is on the southern tip of the Great Barrier Reef off the east coast of Australia. For me, the turtles on Lady Elliot are not only abundant, but incredibly relaxed around humans. This is particularly evident in the lagoon, where the turtles allow incredibly close interactions. Good access to friendly turtles is obviously an important factor in a nabbing a great turtle shot and should improve your chances significantly. All of the images in this post (save for one) were taken on Lady Elliot Island.
Adapt everything
All of the suggestions I've made here are based on my personal shooting style is obviously affected by my personal bias. You don't have to take my word for it. Try different techniques, think outside the box and look for something new and you may just be rewarded.

Final thoughts
Hopefully you've found this information helpful and with any luck, it leads to you capturing an awesome turtle image. I think if you can be calm and comfortable in the water and pay attention to the turtle's behaviour you stand a real chance of getting a good shot. Remember to try approaching from a distance and slowing down all of your movements. This should give you the best chance possible of nailing that great turtle shot. Thanks for reading and good luck!
Let me know in the comments below how you go!

